So, you’ve decided to recycle that old computer. Well done, you! Computer recycling is the most responsible choice for disposal. Recycling keeps harmful toxins out of landfills and also reduces the need for production of new parts by reusing material from your used electronics. But before you head to your local computer and electronics recycling center, follow these three steps to ensure that you protect your personal data.
Step 1. Call Ahead
Reach out to your local computer recycling center to find out what type of computers they accept. Some recycling services may have limits to the type of materials they can take. Make sure that you consider all the batteries, cords, keyboards, monitors and other items you would like to recycle. If the recycling company is unable to take everything you would like to dispose of, you may be able to donate those items to a thrift store or sell them online or to a pawn shop. The key here is to take stock of what needs to go and have a plan for how you can most efficiently move forward.
Step 2. Finders Keepers
Now that you know what items can be recycled, the next step is to make sure that you will not lose anything when your computer goes to the great processor in the sky.
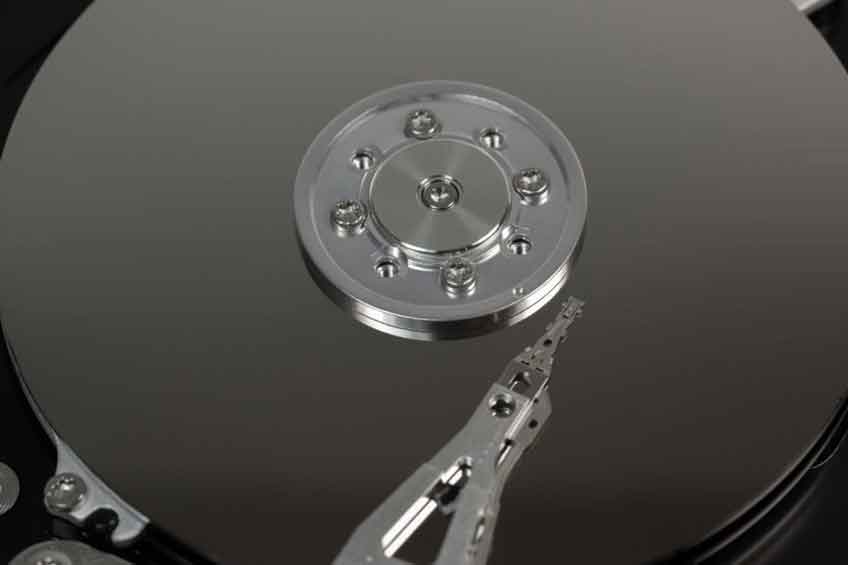
Check for Hardware
Check the device’s drives and ports to make sure that you’ve removed any media discs, thumb drives, and USB connections. The older the computer, the more likely you had to add external devices like speakers or cameras to increase the machine’s functionality. If you upgraded your device with additional memory, media or gaming cards, you should remove them, as they may still have value in your new device.
Back It Up
Take stock of all the data you stored on the computer. Make a list of all the files you will want to have continued access to after your machine is gone, such as:
-
- Photos
- Media files
- Personal documents—resumes, CVs, portfolio work, saved emails
- Financial information—tax files, insurance files, health documents
- Software programs
- Work files
Once you know what you will keep, you need to decide where to keep it. You may be able to migrate this data to your new device by using a home server, a jump drive or the cloud. A stand-alone storage drive may be a good fit if you want to keep a central data bank. The cloud is another possibility that can be accessed with ease. Depending on your operating system, you may already have an allocated amount of space available to you in a cloud bank. If you used your computer for work, you will need to check on your company’s data policies. They may have specific processes for storage and disposal of data.
What if your old computer is in a fugue state and will not turn on? If you want to retrieve your files and are tech savvy, you may be able to access the files from your hard drive by removing it and connecting it to a new device. However, this can be an involved process, so you may want to consult with a computer repair center to access your files. You will also still need to follow through with wiping the drive, because even though your computer is dead to you, your information is still ripe for the taking for someone with the drive (sorry!) and know-how.
Step 3. Total Wipeout
Cue up Boyz II Men’s “End of the Road” and prepare to complete your journey with your trusty, data-filled companion. Thinking of the time shared with your computer will help you remember all that it knows about you, and all the beans it could spill if it ended up in the wrong hands. Now it’s time to really clean house.
Signing Off
Log out of all the accounts that you used on this computer—email, social media, banking, insurance and apps. Check that this computer is no longer listed as an authorized location by your accounts. Clear all browsers used on this computer, paying close attention to deleting cookies, saved passwords and auto-complete information.
Delete, Delete, Repeat
Finally, we come to the big wipe of your drive. Even if you’ve removed everything from your desktop and cleared out your files, it is necessary to do a factory reset at the very least. Here’s why: the data is all still on your hard drive and can easily be accessed even if the links to that data (the deleted file paths) have been trashed. The good news is that you can easily do the factory reset yourself by following the instructions in your user manual, finding an online tutorial or even contacting customer service.
You can also buy or download free disk wipe software for an added measure of security. Reading online reviews can help you determine what level of wipe you will need. Before getting too far into the research, you’ll want to know which operating system (including generation) is installed on your machine. It also will make a difference if you have a traditional hard disk drive (HDD) or solid state drive (SSD).
Ready for computer recycling? Contact Gardner Metals to find out more about our computer and electronics recycling program. We can answer your questions and give you a quote on your used computer and electronics, so you can get some green for going green!